Usually in the enterprise world RAID systems are the most popular and used infrastructures when it comes to data backup and data synchronization but NAS (Network Attached Storage) devices can really improve these processes on small and mid-businesses due to the reduce costs in its implementation and since they are fast and reliable solutions.
On this quick tutorial I'm gonna show you how to backup a directory hosted on an Ubuntu Server and transfer the data to a Network Shared Folder hosted on a NAS. I'm assuming you already have a NAS storage up and running on your local network and a folder is already shared.
First we need to get the following extra packages from the Ubuntu repository that will provide the ability to mount this shared network folder locally:
$sudo apt-get install nfs-common cifs-utilsafter the installation is finished, let's try mounting the foreign folder, run the following command:
$sudo mkdir /media/andres/
$sudo mount -t cifs -o username=guest,uid=1000,gid=1000,file_mode=0777,dir_mode=0777 //192.168.10.1/hddantrecu /media/andres/
with this we are, first creating the local folder where we are going to mount the shared content and also telling Ubuntu to mount the Network Shared Folder //192.168.10.1/hddantrecu on the local folder /media/andres we just created with the -o option argument we are mounting the folder as the user uid 1000 that in Ubuntu is usually the user that installed the operating system, you can replace as the user you want, same with gid.
Go to that directory and list its content:
$cd /media/andres/
$ls -lh
this should get you the contents of what's in the NAS storage device you shared on your network. For example in my case:

If no errors found, we can make this permanently on Ubuntu so on every system boot the script we just wrote triggers and mounts the folder for us. Edit the following file:
$sudo nano /etc/fstaband add the following entry at the bottom of the file:
## NAS
//192.168.10.1/hddantrecu /media/andres/ cifs credentials=/home/andres/.smbcredentials,iocharset=utf8,gid=1000,uid=1000,file_mode=0777,dir_mode=0777,sec=ntlm 0 0
Create the .smbcredentials file specified on the command in the specified folder, you can alter these values as you wish:
$nano /home/andres/.smbcredentialsThis is a basic file where we are going to be storing the users and password combinations, if any, provided by your NAS, on this sample I'm using a non-password user or Guest, file should look similar to the image below:

Final test, run the following:
$sudo mount -aand if there are no errors on the output, you are good to go.
Alright, now that that we have mounted the folder as a local folder on our system, we can easily sync or backup anything we want to that destination. On this post we are going to be using rsync a very powerful command in Linux to keep data in-sync.
Let's say you want to keep in-sync and backup the folder where you store all your Drupal projects and your databases dumps, so in case your main server goes down, you can quickly restore from the backup on another computer:
$rsync -azrvhP --no-o --no-g --delete --stats /home/andres/www/ /media/andres/www/with this command, I'm syncing whatever content structure in /home/andres/www (the source) to /media/andres/www/ (the destination), preserving the file(s) & directories permissions and printing the status of the transfer at the end of the execution.
Of course we want to make a recurring task out of this process so my data keeps synced on a timely basis, let's assume we want this backup to happen everyday at 2am, we need to create a basic cron job:
$crontab -eadd the following to the cronjob file:
0 2 * * * rsync -azr --no-o --no-g --delete --stats /home/andres/www/ /media/andres/www/ > /home/andres/rsync.log 2>&1I'm including a log file so you can check for any errors after every cron run /home/andres/rsync.log
Crontab config should look similar to the screenshot bellow:
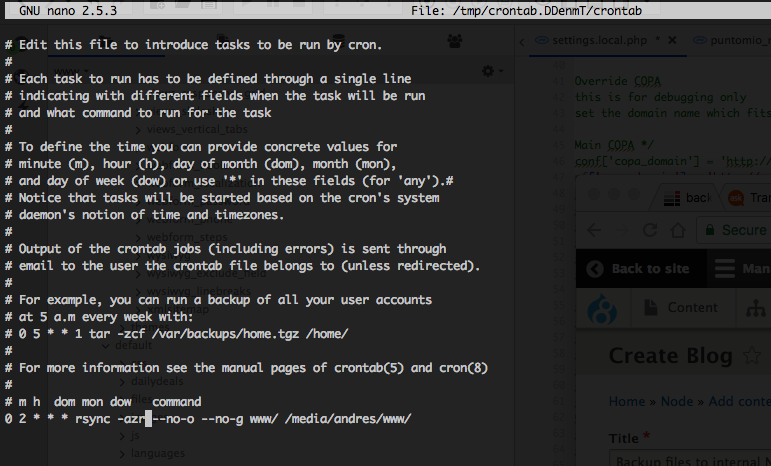
And that's all! Now you have implemented a low cost infrastructure to save your data and keep it available on your local network, hope it helps.